Week Ten: Composites
Burlap + Epoxy + Vacuum + Patience = Rough and strong!
Background
Our assignment this week was to design and fabricate a 3D mold (~ft^2) and produce a fiber composite part in it.
Design
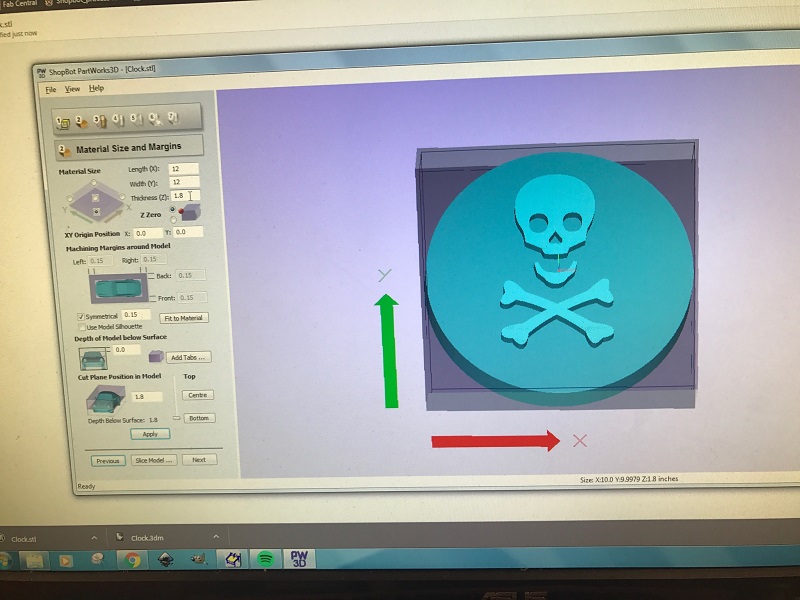
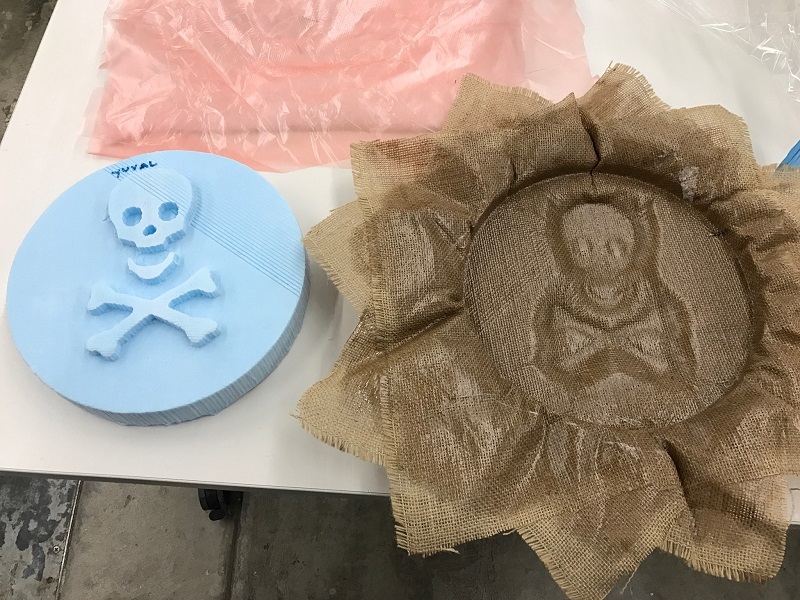
My final project is not expected to include any Composite parts, so this was a good testing/learning week. I decided to make a cylinder (R=5” Z=2”) with a small skull on it. I chose the skull because it is easy to create (“N” in the windings font which is a great source for basic images) and a great way to test the resolution of making composites as they dry - because of the different holes / pieces (eyes, nose, mouth, etc).
Project Files:
Modelo:
CompositeModel By Yuval Gonczarowski Modelo »
Milling
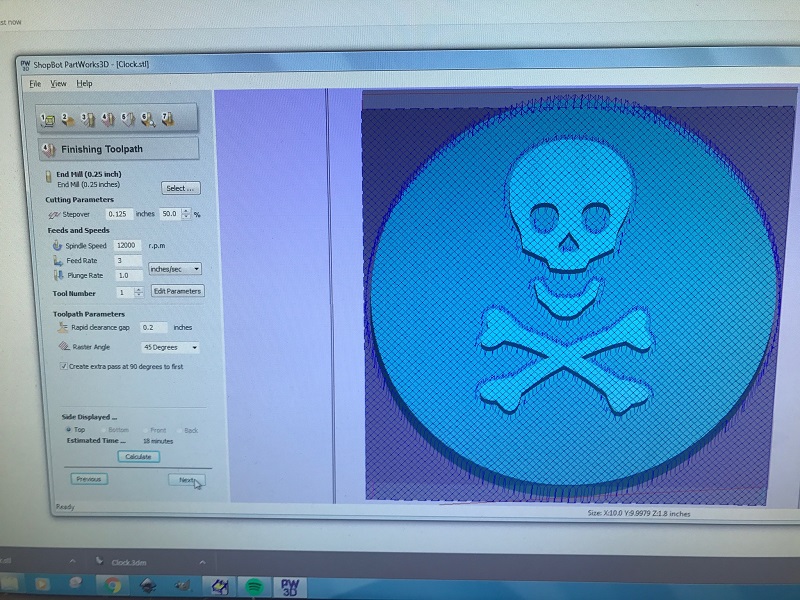
While technically this design could’ve been done using fabmodules (it’s actually more of a 2.5D design) I decided to go ahead and continue to practice using PartWorks.
The main choices here were:
- Rough Cut using 0.5” mill
- Finish Cut using 0.25” mill
Since I used foam for the mold, it was fairly easy and the ShopBot cut it like it was butter.
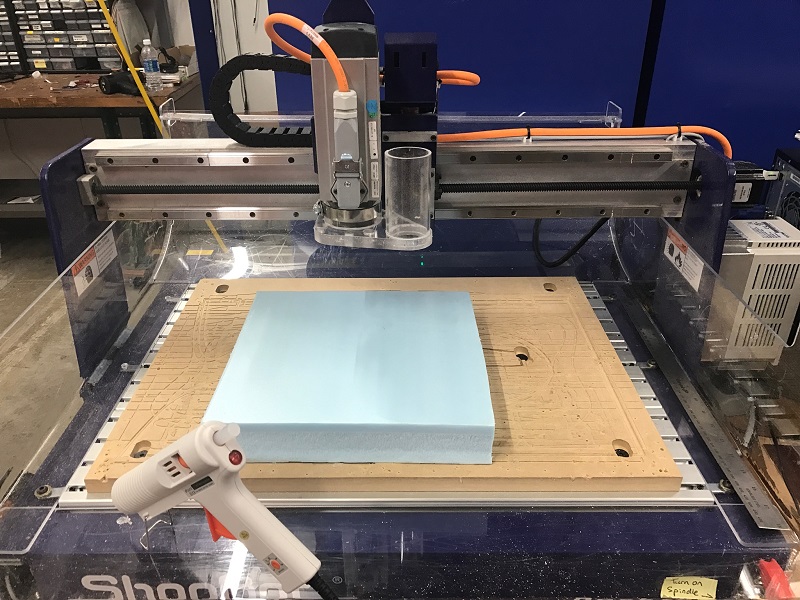
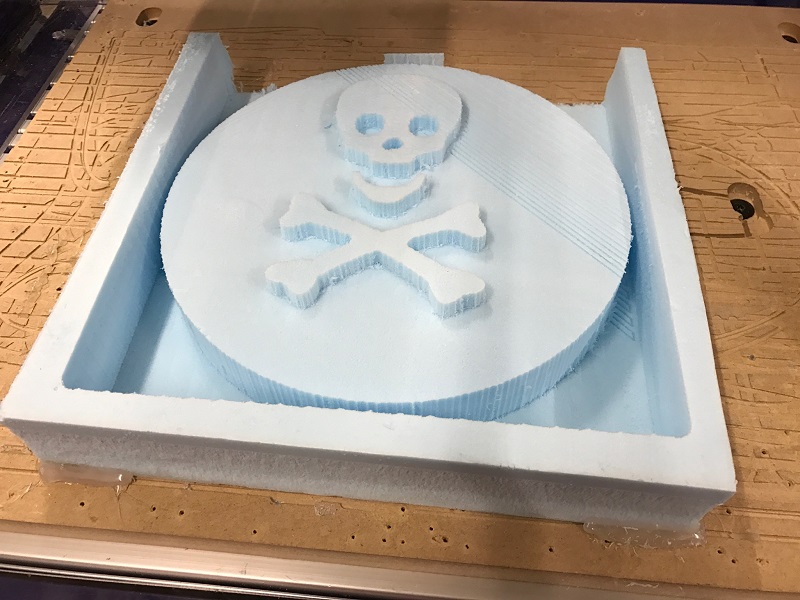
- Piece of foam on the ShopBot (glued with hot glue):
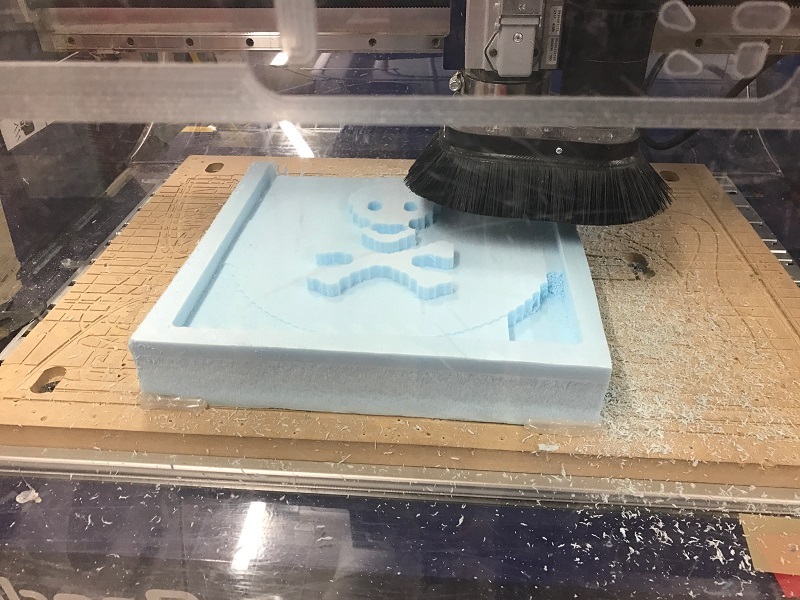
- Rough Cut in progress (R=0.5”):
- Model Milled (left a thin layer of 0.2” to make sure I don’t mill some wood off the bottom):
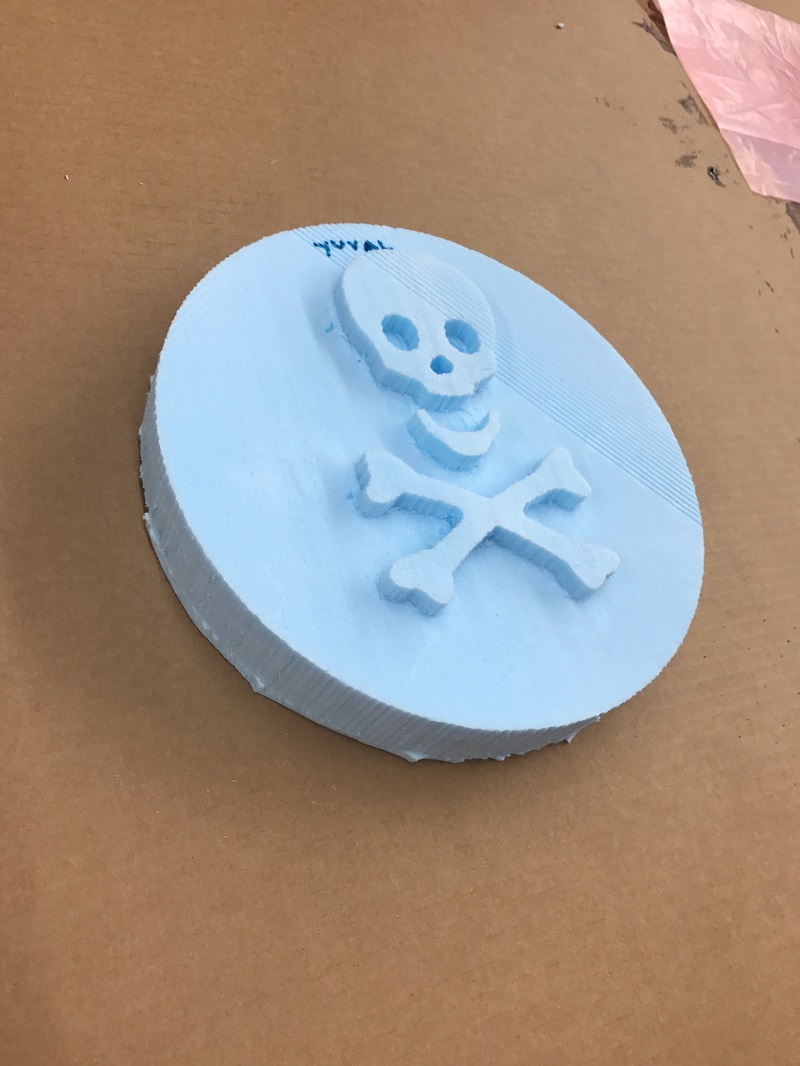
- The Final Result:
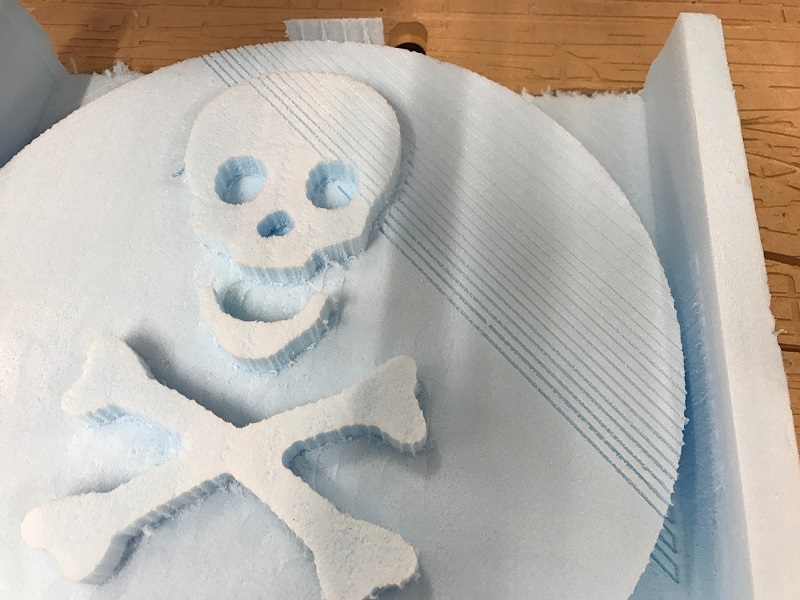
- Mistake/Lesson learned: At some point, the spindle caught a small piece of wax/foam on the tip and started scratching deeper; since I wasn’t paying attention this happened for some time. Once I noticed it I stopped the cut, cleaned the spindle and resumed cutting. Here we can get a closer look on the mistake (which ended up not being crucial because the resolution was too small to make a difference on the composite):
Producing the composite
- The first layer is very important - the separation layer. We put that directly on the mold so it will be easily removed. Generally, epoxy doesn’t react with nylon / plastic.
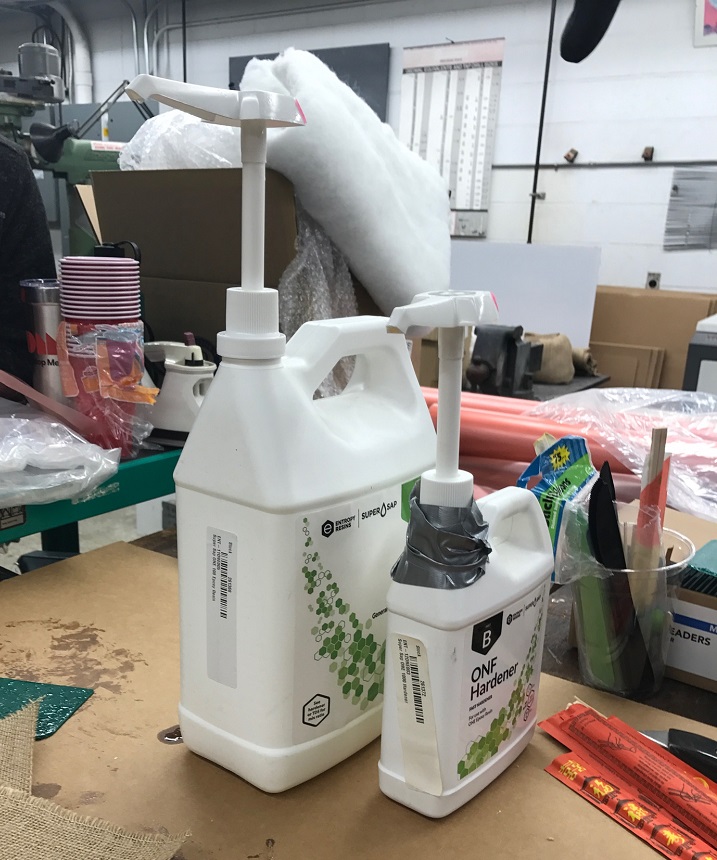
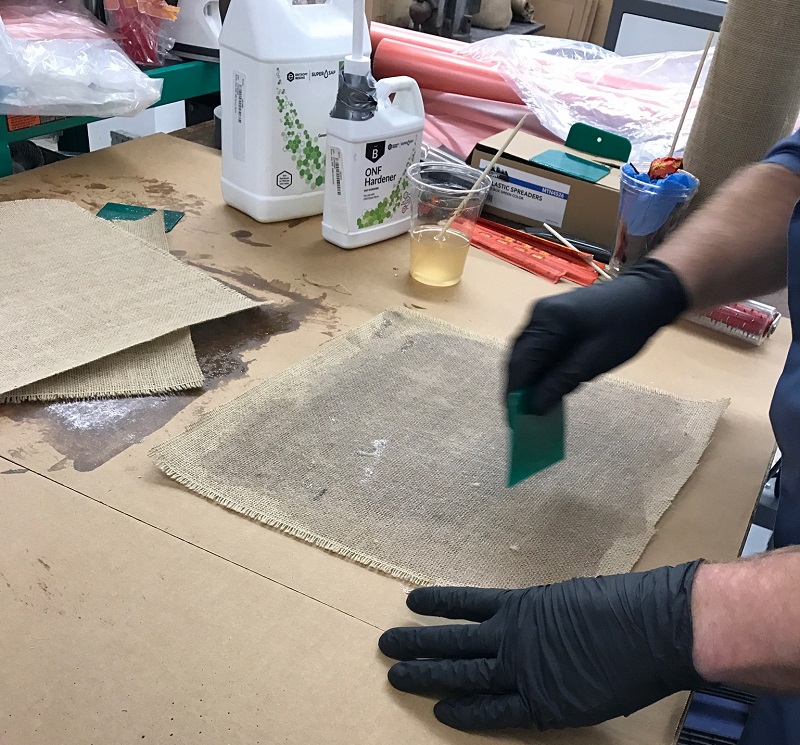
- Our adhesive for today is Super Sap 1000 ONF Epoxy. The A:B ratio (Re4sin:Hardener) is 2:1 as is evident by the different bottle sizes. Each squeeze produces an even quantity. We put 3 squeezes of B and 6 squeezes of A in the mixture.
The Data Sheet can be found here.
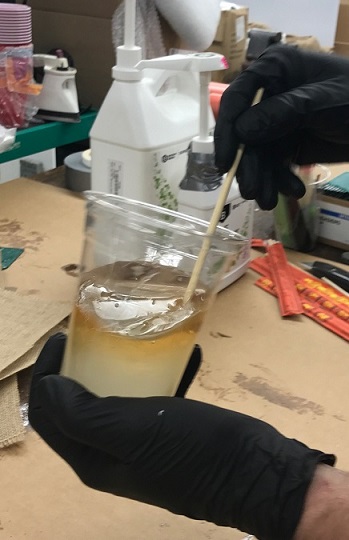
- Mixing the epoxy for a LONG time is key to success. It takes 4 hours to dry so no real sense in rushing this part. We mixed for a good 10 minutes. This is how it looked when it started:
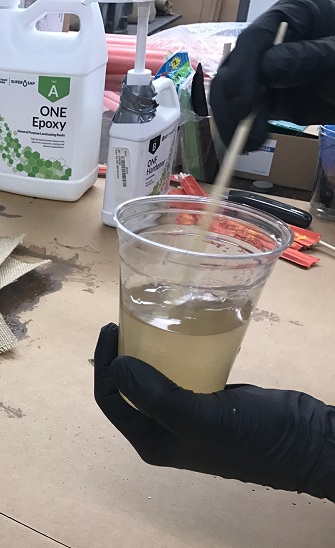
- And this is how it looked after mixing well:
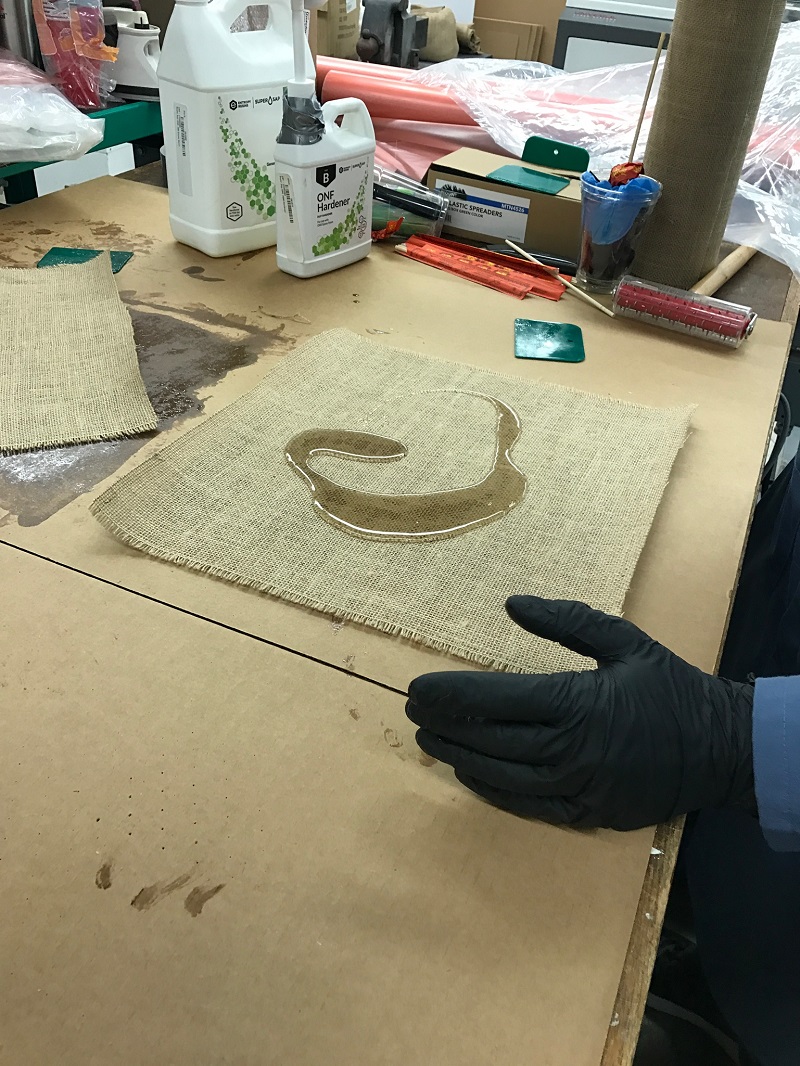
- Our material for today is Burlap. Taking a sheet of burlap we put a chunk of epoxy on it, and smear it well and evenly using plastic (think PB&J Sandwich):
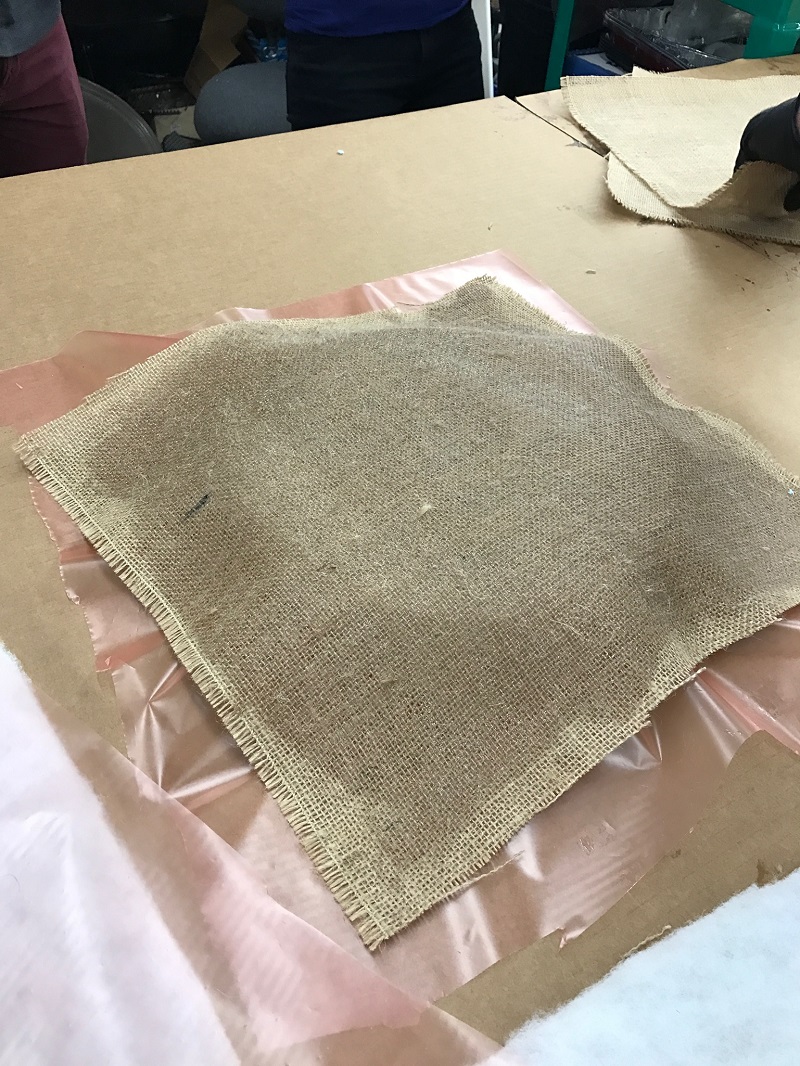
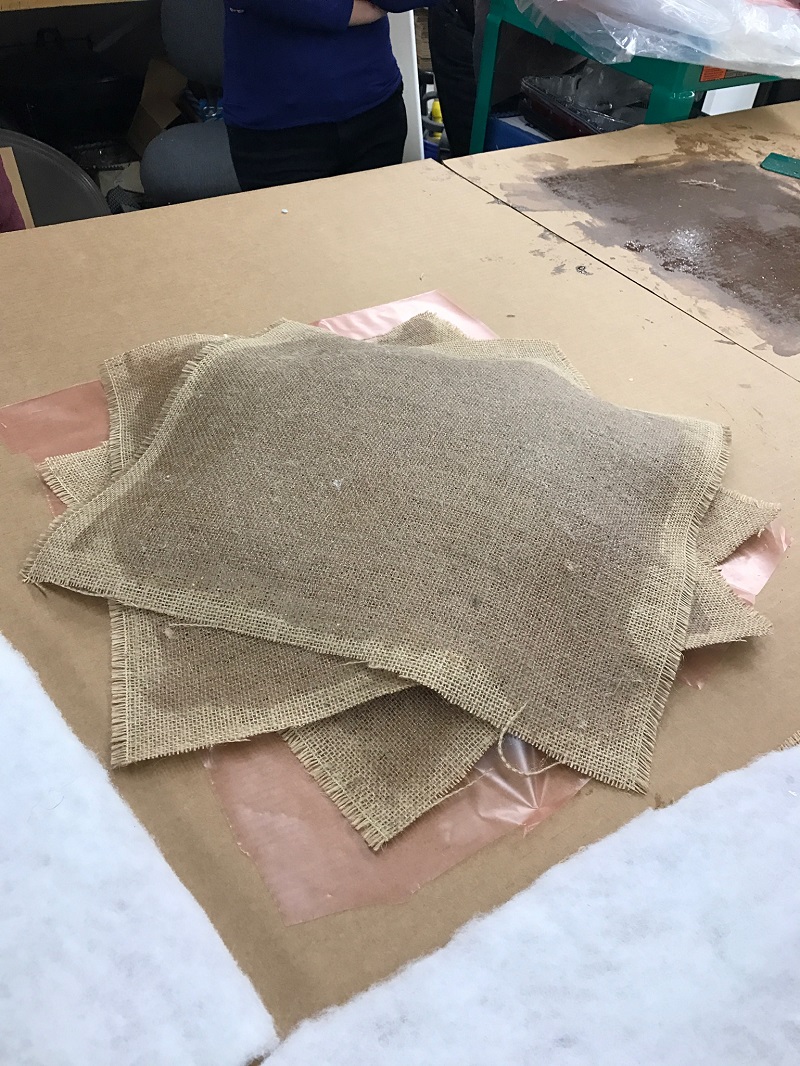
- We then place the layer with epoxy on the separation layer, and repeat the process several times. Dan, our instructor, recommended 3 sheets for proper strength.
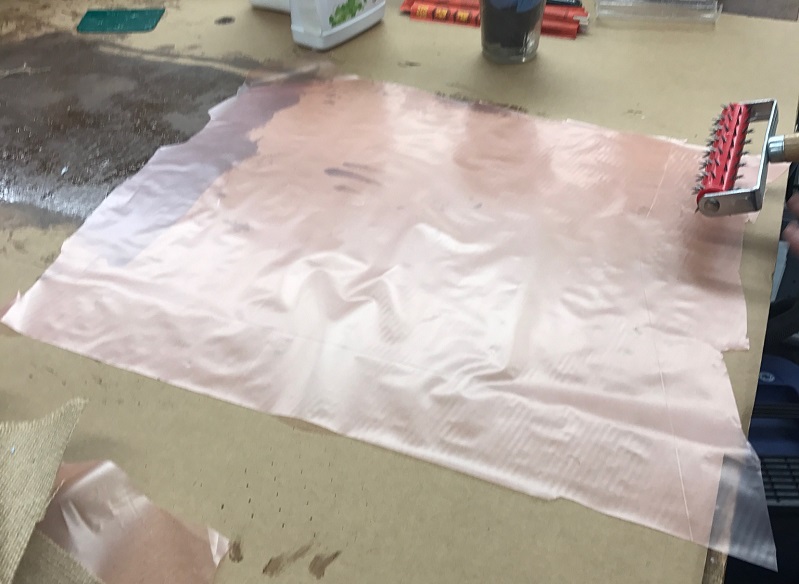
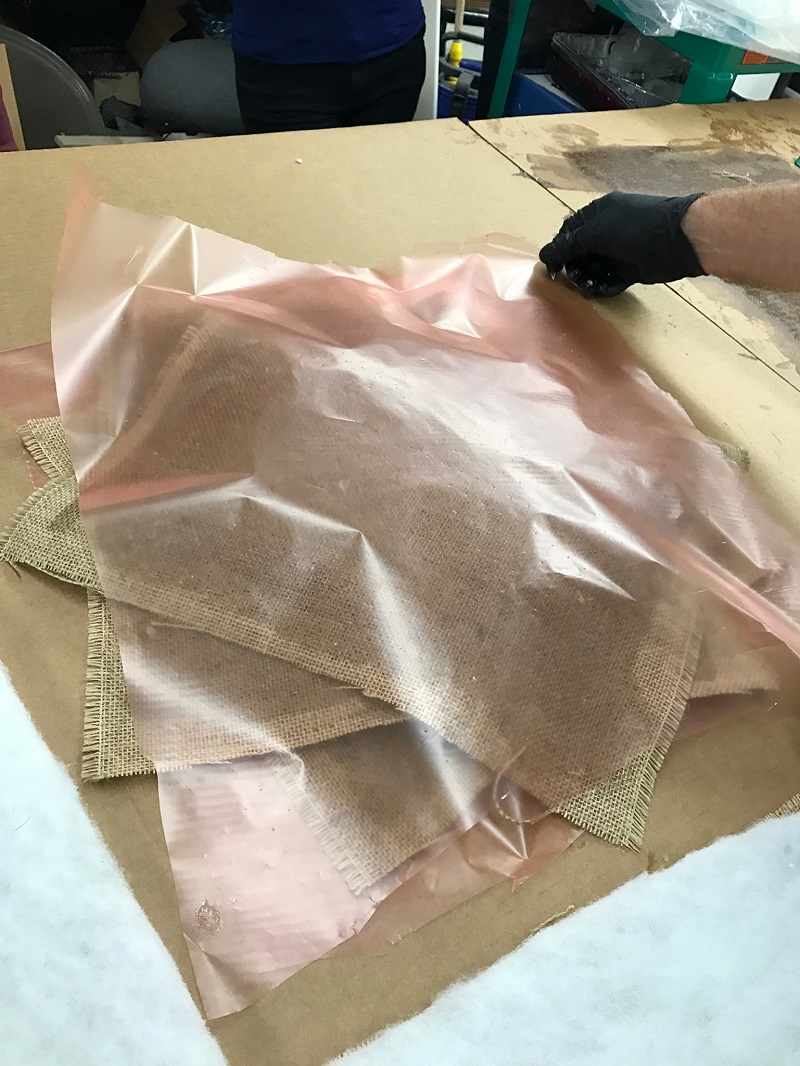
*Above the epoxy layer we need another separation layer; this time, we poke holes in it (think Matzoh) so that when we place everything in the plastic bag, the epoxy will have where to go:
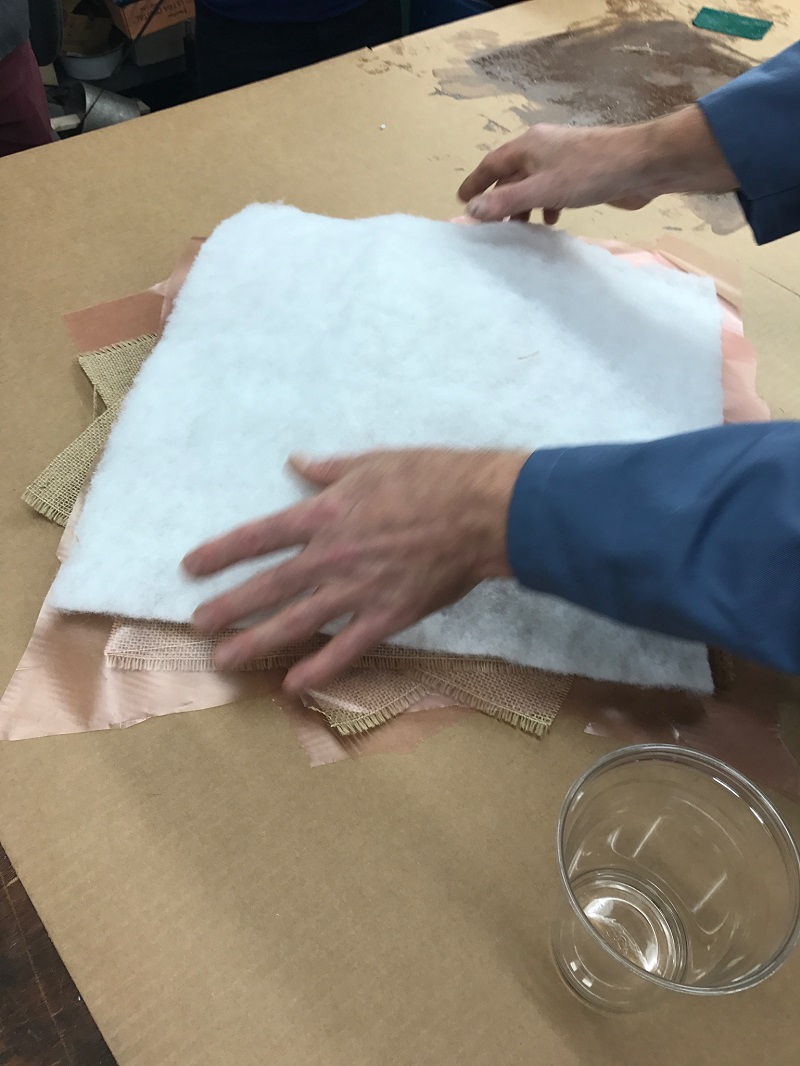
- And where does the epoxy go? Onto a layer of material with high soaking quality. I think what we used here was felt:
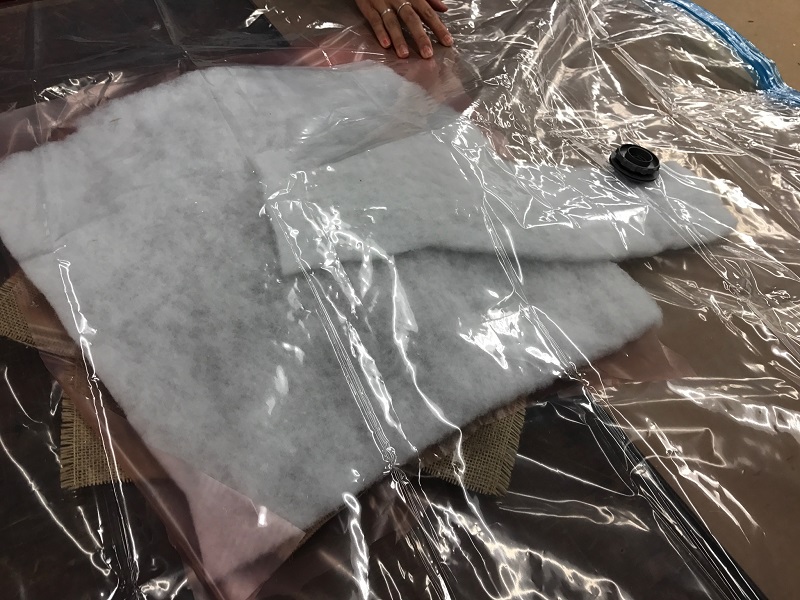
- Next, we place everything in the vacuum bag, but we need some sort of pathway for the air to flow, a “ventilation” system if you will, to the cap. But the cap is made of plastic and is pretty strong, and we don’t want that on the burlap so it won’t leave a mark. So we create a ventilation path with some more felt and burlap without adhesive:
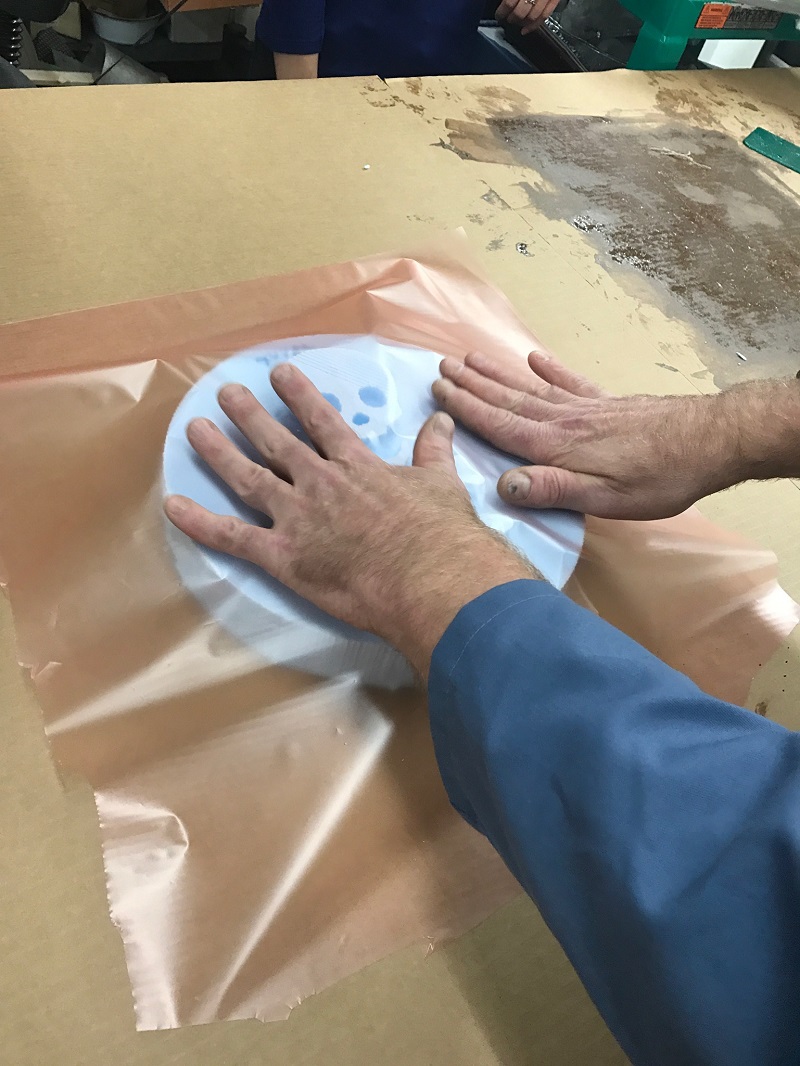
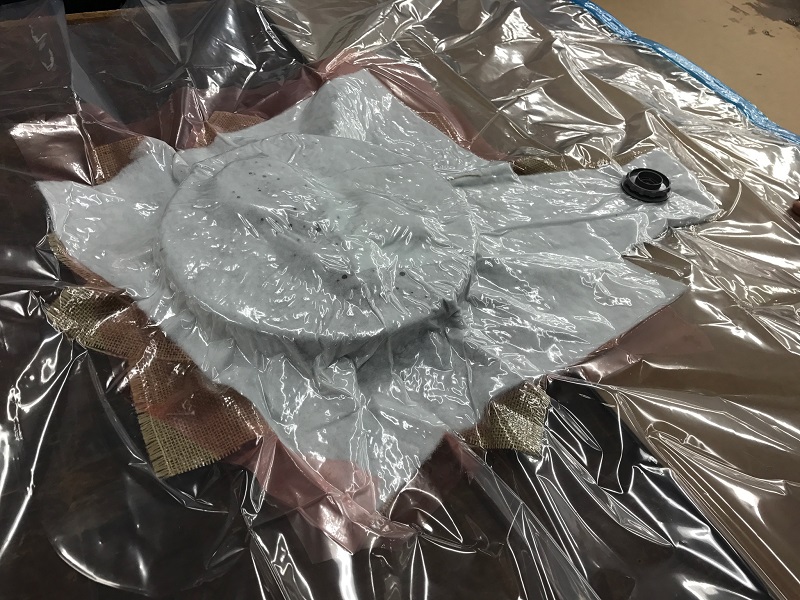
- And suck the air out:
Final product
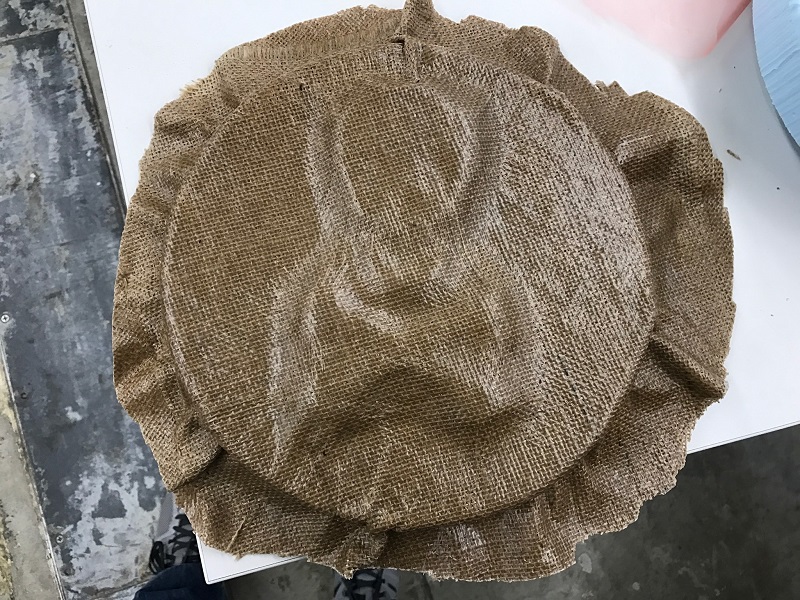
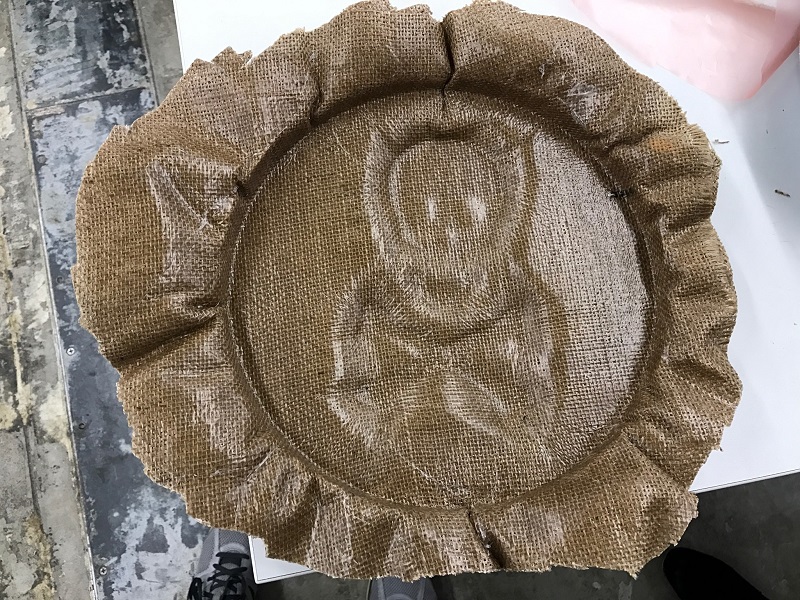
After vacuuming, I waited about 6 hours (spec sheet says 4; I wanted ice cream), removed everything (fairly easily) from the bag, and voila! Here’s what we got:

