Week One: Final Project Thoughts
Our assignment for the first week was to model (raster, vector, 2D, 3D, render, animate, simulate, …) a possible final project, and post it on our class page.
Update 12/3:
Added networking capabilities, as detailed in Networking Section. Main protocol determined, still need to rewrite code on the ATTINY44 on the step motor to allow clockwise and counterclockwise selection from the web interface.
Update 11/21:
Good progress this week - as detailed in the Output Devices Section. A bit more fine tuning required on electronics, but it’s time to start thinking about the casing.
Update 11/11:
After receiving feedback from Neil during the last class, I’ve decided to focus on two main features:
-
Rotation: At the push of a button, the cylinder will be able to rotate to a pre-determined extent
-
USB charging
What should I model?
My wife is always the one with the ideas. She suggested anything from minor trampolines to funky office supplies, but I am more practical: our toilet paper dispenser broke the other day; I felt it should be a good device to start learning with (some cylinders, a spring, and to-scale modeling)
As a potential final project, if this ends up to be it, I could add cool features to it like USB charging, speakers and BlueTooth support, FM radio and even a servo that will dispense the paper at the push of a button.
Electronics will come later - today we’re all about modeling.
Some photos
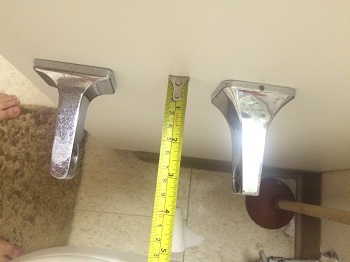
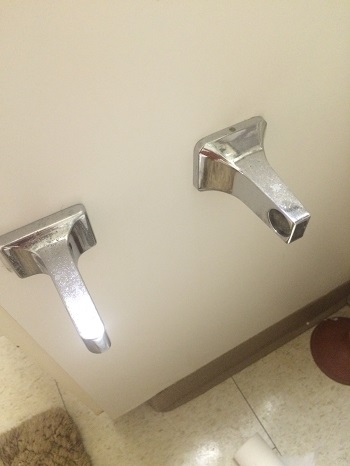
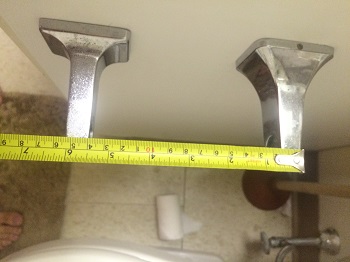
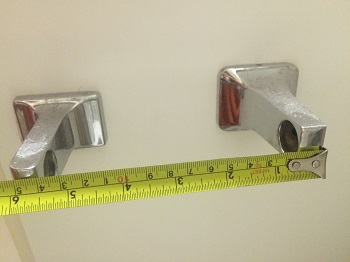
Here are some photos of the holder of what was once the dispenser. My aim, as a first step, is to fill in the missing piece.
Concept
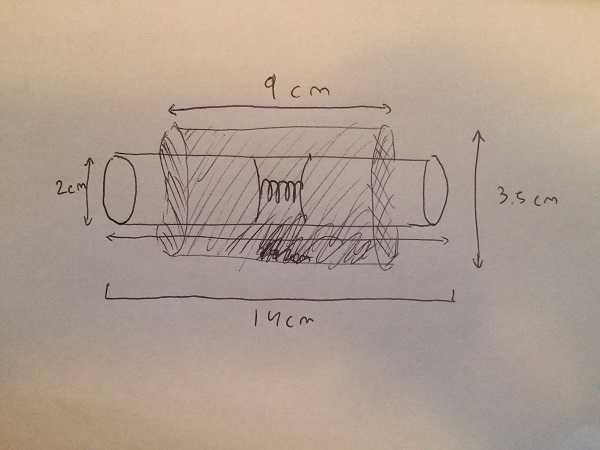
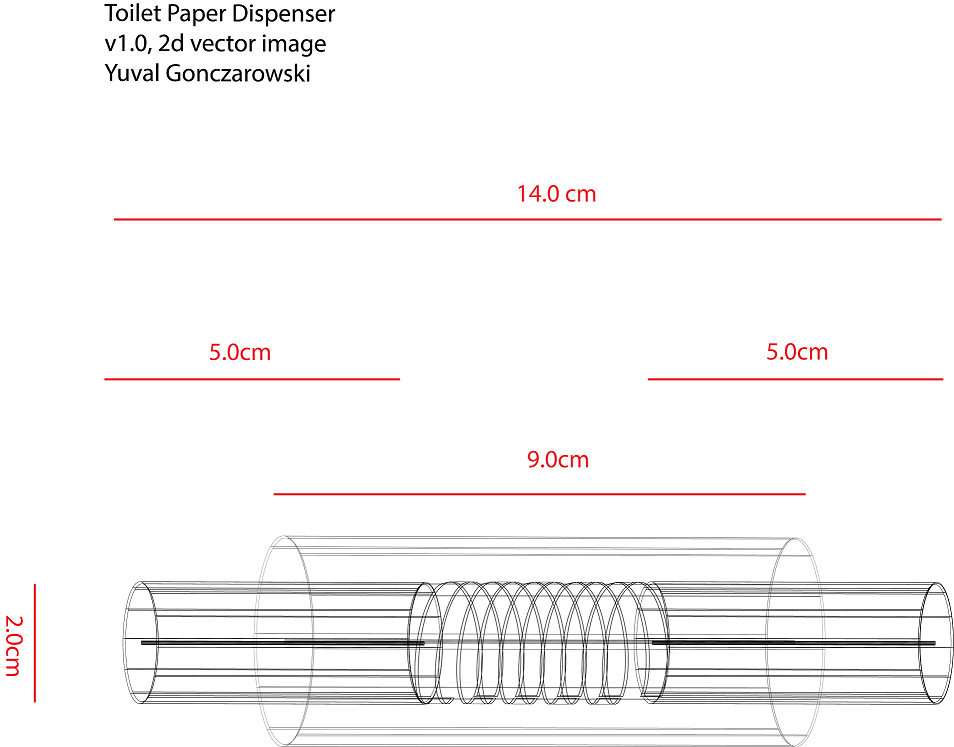
I started by just drawing for myself the basic dimensions:
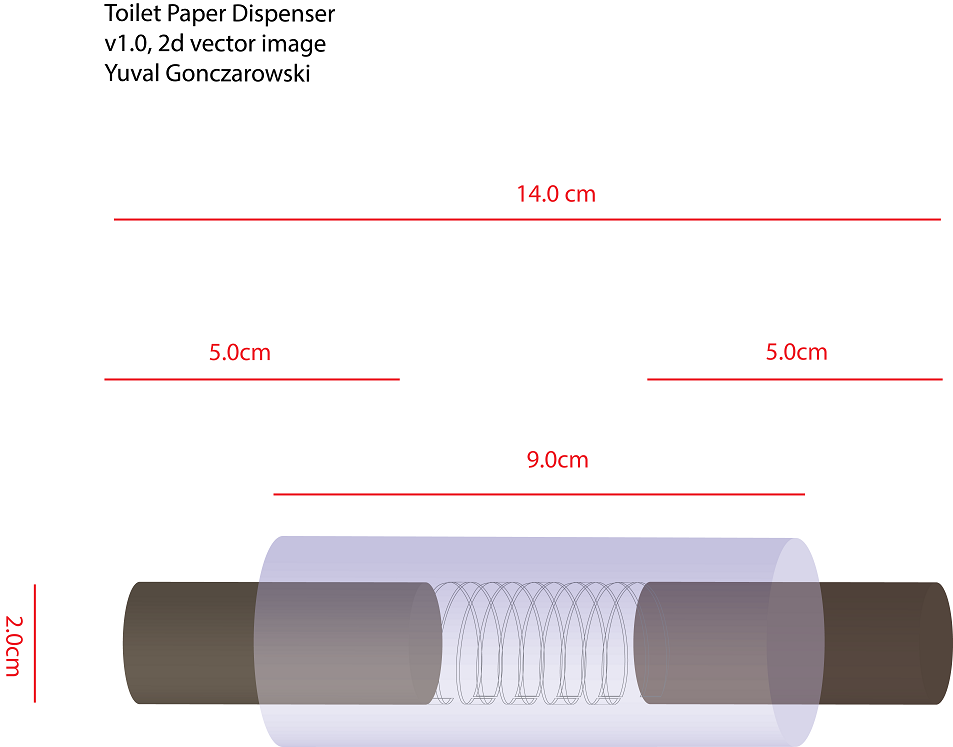
The base product will have an inner cylinder which will be able to fit the two metal pieces already mounted to my wall. It will actually be made of two smaller ones with a spring between them, to allow for easy insertion into the slot. An outer tube will wrap the smaller cylinder to hide the spring and to provide a better grip to the toilet paper roll, to avoid jitter as it turns.
2D Model
Raster or Vector?
Rastered images have finite resolution and are not as good for modeling. So for my first 2D modeling exercise I decided to go with a vector-based model. The undisputed king here is Adobe Illustrator; it costs money but like any good drug, there’s an evaluation period.
It took me about 2 hours, but here are a few images of the final result (wireframe and full):
(the actual .AI file is vectorized, of course)
Here are some lessons I learned:
- Drawing to scale is important! I highly recommend snapping a grid and enabling the ruler. Keep a close eye on each image’s height and width.
- Illustrator is a 2d modeling software, but we can still “think” in 3d; I loved the “revolve” effect that I learned of when trying to model the spring. This is a fantastic tutorial.
3D Model
Having the 2d model in my hand, I decided to proceed to 3d modeling. Weapon of choice for today: Rhino 3D. After skimming several on-line tutorials this seemed rather intuitive so I decided to give it a shot.
3D modeling is more complex and takes some time getting used to. The following tutorials are recommended:
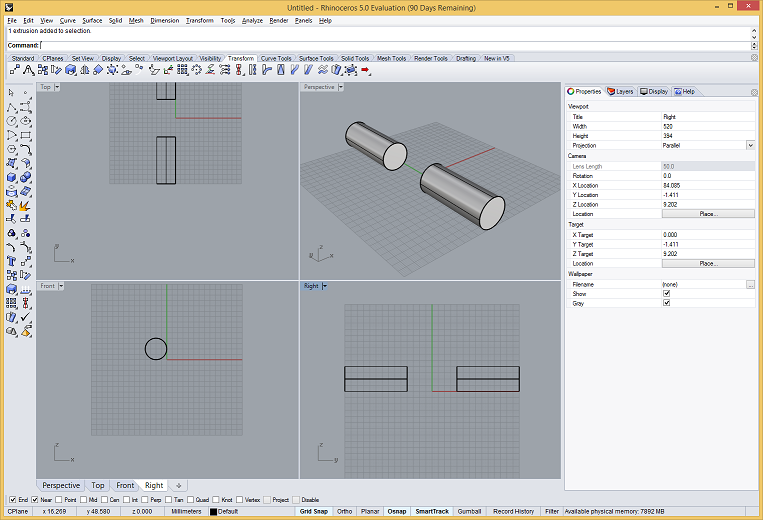
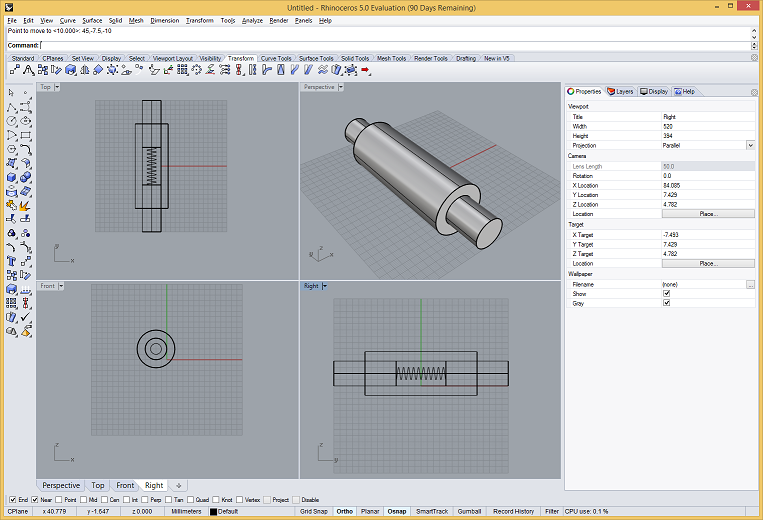
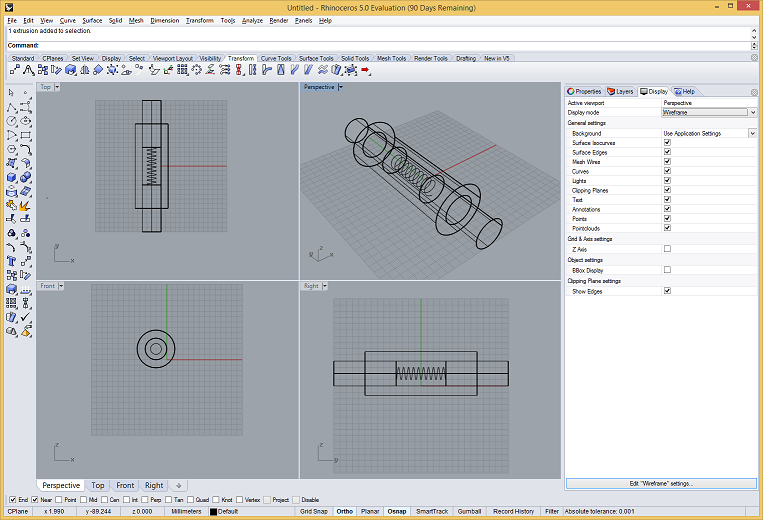
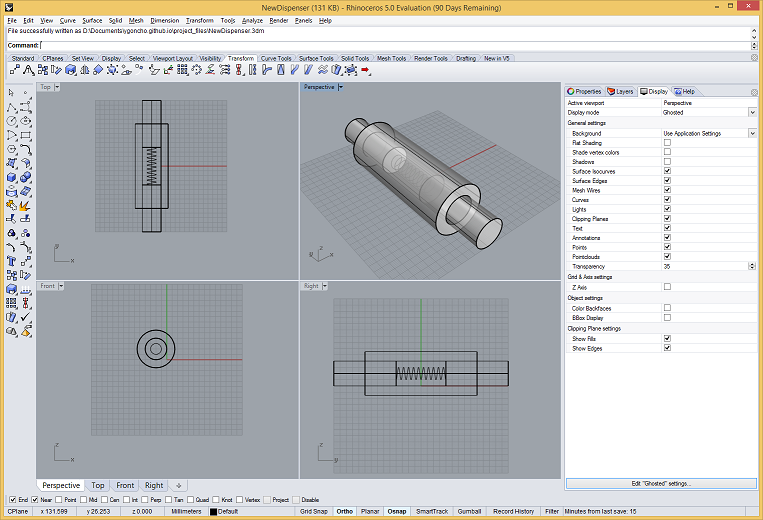
Below are some snapshots of the process and final product (which is again, exactly to scale with how I drew it in the first place). My favorite feature here is the different Display Modes (e.g. wireframe, shaded, and ghosted). The final 3DM file is available here
- Creating the first cylinder:
- Adding the helix:
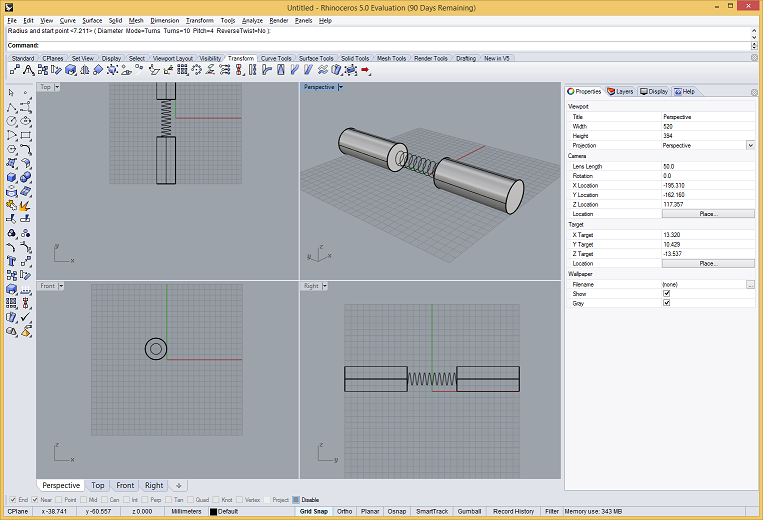
- Adding the wrapping tube / final version with several Display Modes:
Additional touches
At this point I decided to remodel the holders for the dispenser rather than use the two that I already have at home, hopefully with the intent of making this THE ULTIMATE DISPENSER later, and adding electronics, etc.
The key feature here is the Boolean Difference tool that Rhino offers, as is explained in this simple and effective tutorial.
Here’s a list of additional things I did:
-
Added a USB socket. The actual socket itself was downloaded from grabCAD, an open source CAD library. I wrapped a box around it using the BoundingBox command and then extracted the box from the holder.
-
Added support for hanging: Again, I found a model of a classic hinge in grabCAD. This was a bit more tricky because I had to create parallel holes in the holder itself for the nails. what I did was build three small cylinders around the hinge, move them to the big holder and then run a boolean difference tool.
Voila - the final product, TUTPD (The Ultimate Toilet Paper Dispenser) is now taking shape!
Modelo is a super cool free service that allows one to upload 3dm files and embed into websites. Here’s the final product, for your pleasure:
