Week Two: Vinyl Cutting
Our assignment this week was to cut anything on the vinyl cutter; this is a shameless ad for YG Acoustics.
Vinyl Cutter background
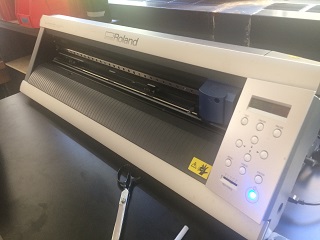
The vinyl cutter (we used the Rolan CAMM 1 Servo, retail price ~$1800) is a pretty cool device that allows precision cutting on various material. In this class, as I learned, we will use the vinyl cutter on copper-based material to make conductive wires as we build our circuit boards. For the training exercise we used some sort of black PVC that is adhesive on one side, which allowed us to make some cool stickers.
The rotating knife on the vinyl cutter is probably its coolest feature; apply just a little bit of force and push in another direction, and the knife will align itself in the way you are cutting.
What I did
My brother, Yoav, is an entrepreneur, and a real Maker. He founded YG Acoustics about 15 years ago. He since got funded, moved to the US long before I did, and now makes the world’s best loudspeakers (really, they won endless awards, and the price matches the quality). Few people know that I was YG Acoustics’ very first employee back in 2003, and as such I felt compelled to show off my affiliation with a brand new custom-made YG Acoustics sticker.
Modus Operandi
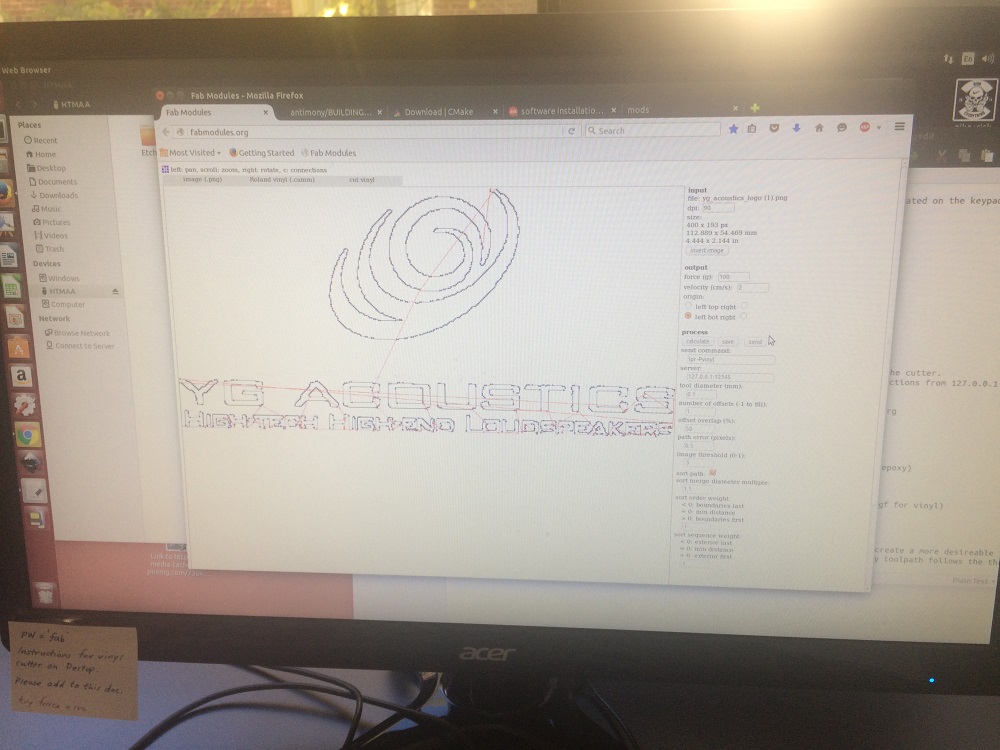
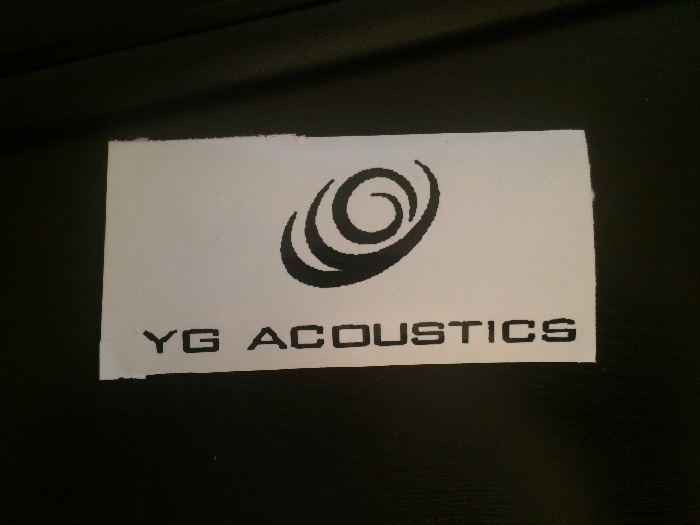
- Locate source image: The easiest way is to have a vector image ready and feed it to the print driver. Otherwise, you can find a rastered image and use conversion tools. I actually had a vector image handy that Yoav had provided me with, but decided to take a rastered image I found on the website to play around with the various sensitivities when converting. This is how the converted image looks on the Fab Modules, the website we use for image manipulation:
-
Settings: There are various sensitivity settings when converting the rastered image to a vector-based image, but the main vinyl cutter setting we played around with was how much force the cutter applied while cutting. My challenge here was printing the small letters that made the sentence “High-Tech High-End Loudspeakers”; using too little force it was almost impossible to extract them. I ended up with an optimal setting of 120g. Playing with the dpi setting (since this is a vector-based image) determines the size of the sticker.
-
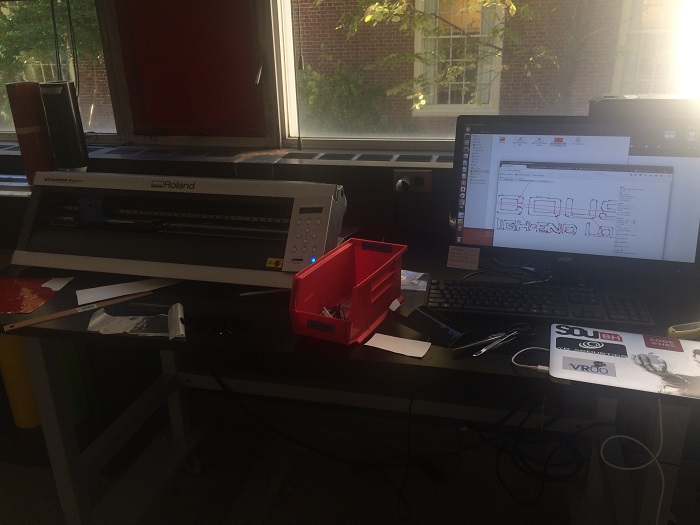
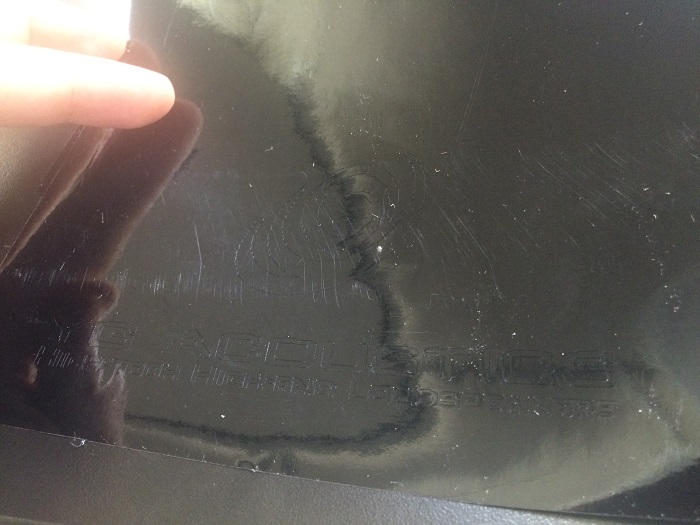
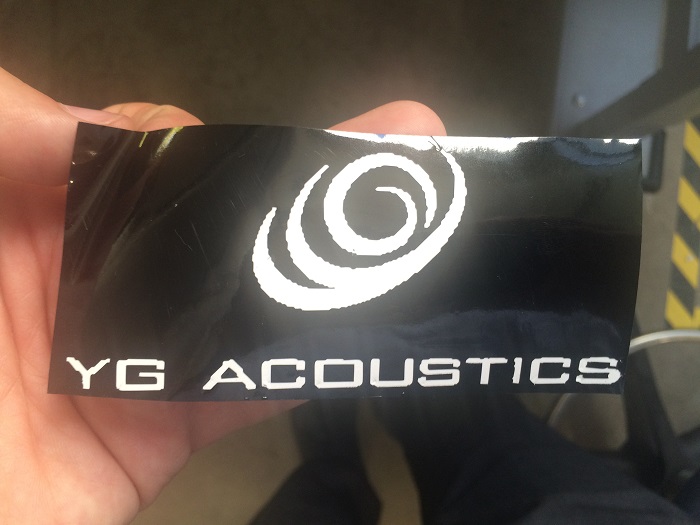
Print: The printer is pretty fast: Probably less than a minute for a 4” by 3” version of the logo. The end result was the piece of PCV with the outline cut:
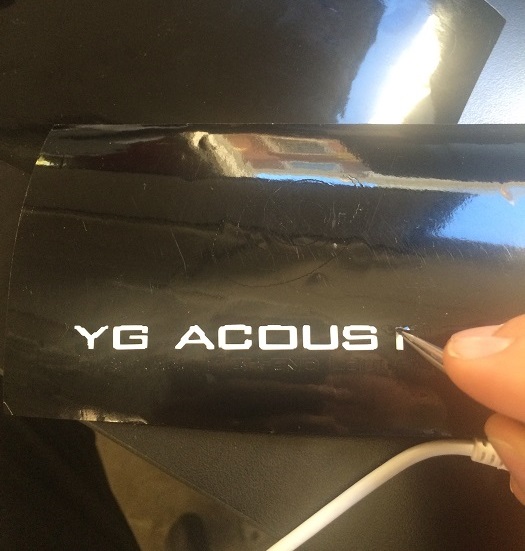
- Extract: As discussed earlier, it took a few attempts until Rob (the head of the Harvard section who helped me a lot here) and I got the right amount of force to set. I then used a pair of tweezers to take the letters out (the small letters were just too small), and… Voila! We got a sticker.
I printed twice: Once I wanted to cut out the letter pieces and get sort of a black background and a cut logo, and another version was to get separate smaller letter stickers that could make up the logo.
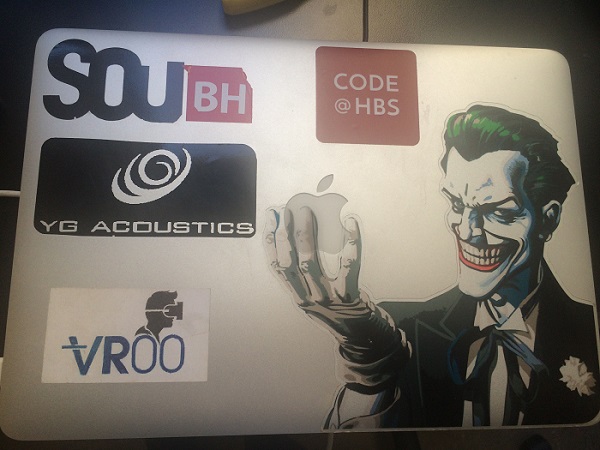
And the final product, with shameless advertising of other things I took part of: VR00, SouBH, CODE@HBS, and of course, Apple:

